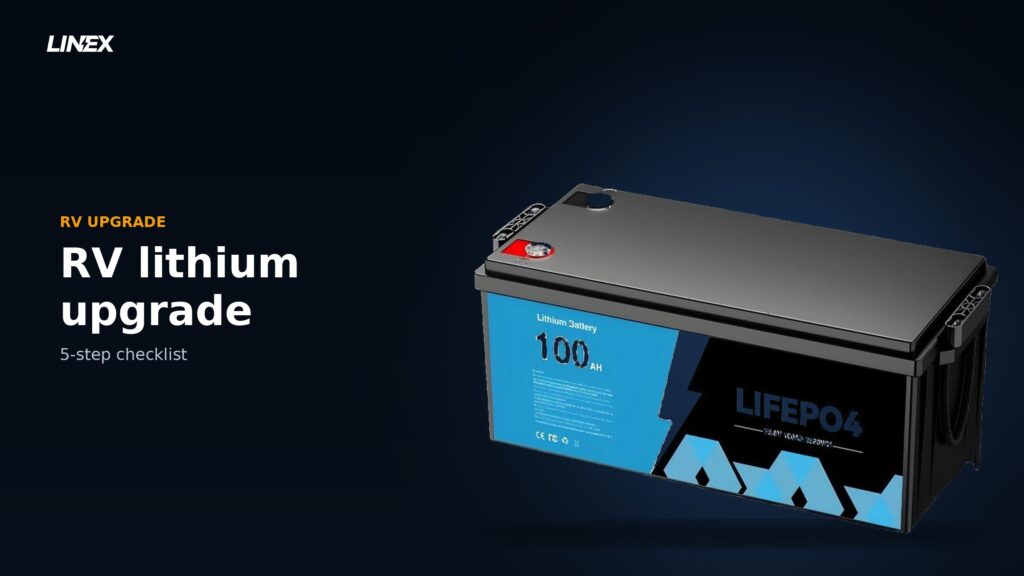
RV Lithium Battery Upgrade: The 5-Step Checklist (From a Battery Factory)
Every week we get emails from RV owners who just dropped serious money on a lithium battery and want to know why it won’t charge past 80%. Nine times out of ten, the battery is fine. The charger is the problem.
That’s the thing nobody tells you before you upgrade: swapping in a LiFePO4 battery is easy. Making your whole RV play nicely with it takes five checks. Here they are, in the order that matters.
Why RVs are lithium’s easiest win
A lithium battery in an RV replaces the two biggest annoyances of lead-acid at once: weight and limited capacity.
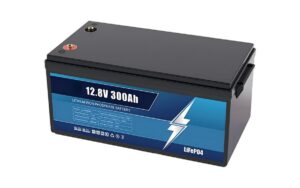
Lead-acid and LiFePO4 banks are normally sized with different depth-of-discharge assumptions. The LINEX 12V 100Ah battery has 1,280Wh rated energy and a 6,000-cycle rating at 25°C and 80% depth of discharge. Confirm usable capacity, dimensions and weight from the model specification.
For an RV, where every kilo costs fuel and every amp matters when you’re boondocking, it’s the easiest upgrade in the vehicle.
Step 1. Size the bank before you buy anything
Work out your real energy use first, then buy. The math is simple: a 12V LiFePO4 battery rated 100Ah stores 12.8 × 100 = 1,280 watt-hours. A 200Ah stores 2,560Wh. For the full model range and sizing tables, see our 12V lithium battery range.
Add up what you run overnight: fridge, lights, water pump, furnace fan, phones. If that’s 800Wh a night, one 100Ah battery has comfortable headroom. If you run a microwave or a CPAP or an electric blanket, you’re a 200Ah household. Don’t buy on “more amps sounds better”, buy on watt-hours against your actual loads.
Step 2. Make your charger speak lithium
This is the step that catches everyone.
Check the converter or solar-controller profile before installation. The LINEX 12V 100Ah and 200Ah specifications list 14.6V fast charging and 13.5-13.8V standby or float charging. Use the values published for the selected model rather than a generic lead-acid or lithium preset.
If your converter is lead-acid-only, one of these fixes applies:
– A converter with a lithium mode or a selectable profile
– A charge controller with a LiFePO4 setting
– Charging the battery with a dedicated lithium charger when on shore power
Skipping this step is why “new lithium battery won’t charge past 80%” is the most common support question we answer.
Step 3. Check physical and electrical compatibility
A battery with the same nominal voltage may still require changes to charging, protection, cabling or mounting. Before selecting a model from the RV and marine battery range, check: For the full model range and sizing tables, see our marine battery guide.
- Physical size. Your battery tray was built for a lead-acid box. Lithium is usually smaller, which sounds fine until you need to strap it down properly. Loose batteries in an RV are a hazard, not a convenience.
- Terminals. Most quality LiFePO4 batteries use M8 terminals. Check your cable ends match.
- Mounting and environment. Follow the model installation instructions, provide secure mounting and cable clearance, and keep the battery within its published temperature and enclosure limits.
Step 4. Let the BMS do its job
The built-in BMS provides model-specific protection for over-charge, over-discharge, over-current, short circuit and temperature. It does not replace correctly sized cables, fuses or breakers, charger settings and installation checks.
One behavior to know about: below 0°C, charging is cut off. This is protection, not a fault. Charging lithium below freezing damages the cells. Discharge works fine from -20°C up. If you camp in real winter, either keep the battery heated or accept that it won’t charge until the bank warms up.
Step 5. Re-learn what the panel tells you
Your RV’s old battery monitor or voltage panel was calibrated for lead-acid. Lead-acid voltage drops steadily as it discharges, so voltage is a decent fuel gauge. Lithium has a flat voltage curve. It sits near 12.8-13.2V for most of its discharge, then drops fast at the end.
Read the old gauge as a lead-acid battery and a half-full lithium bank looks empty. You need a battery monitor that tracks amp-hours (or a smart shunt), or you’ll be second-guessing your battery every trip.
The mistakes we see repeated
- Battery upgraded, charger not. The 80% charge problem above.
- Buying more Ah than the charging system can refill. A big bank needs bigger charging; a 50A converter takes a long time to refill 200Ah.
- Mixing old lead-acid with new lithium in the same bank. Don’t. Different chemistries in parallel is a recipe for trouble.
- No battery monitor, then blaming the battery for what the gauge says.
Buying for a fleet, a workshop, or a store?
If you’re an RV dealer, rental fleet or workshop stocking batteries for customers, the checks change slightly: you’ll want the spec sheet (weight, dimensions, terminals) before you commit, certificates (UN38.3/CE/FCC) for shipping and paperwork, and clear answers on parallel capability and MOQ. We cover the full supplier checklist in our 12V 100Ah buying guide.
The short version
Five checks matter: size the bank from watt-hours, use the model’s charging profile, measure the fit, stay within BMS limits and use an appropriate battery monitor. These checks reduce compatibility and installation problems.
We build the 12V and 24V LiFePO4 line in 100Ah and 200Ah with UN38.3/CE/FCC from our Shenzhen factory. Tell us your RV setup and we’ll send the spec sheet.